Eyeshadow Tutorial for Beginners – Step by Step
This post contains affiliate links. View my full disclosure policy for more information.
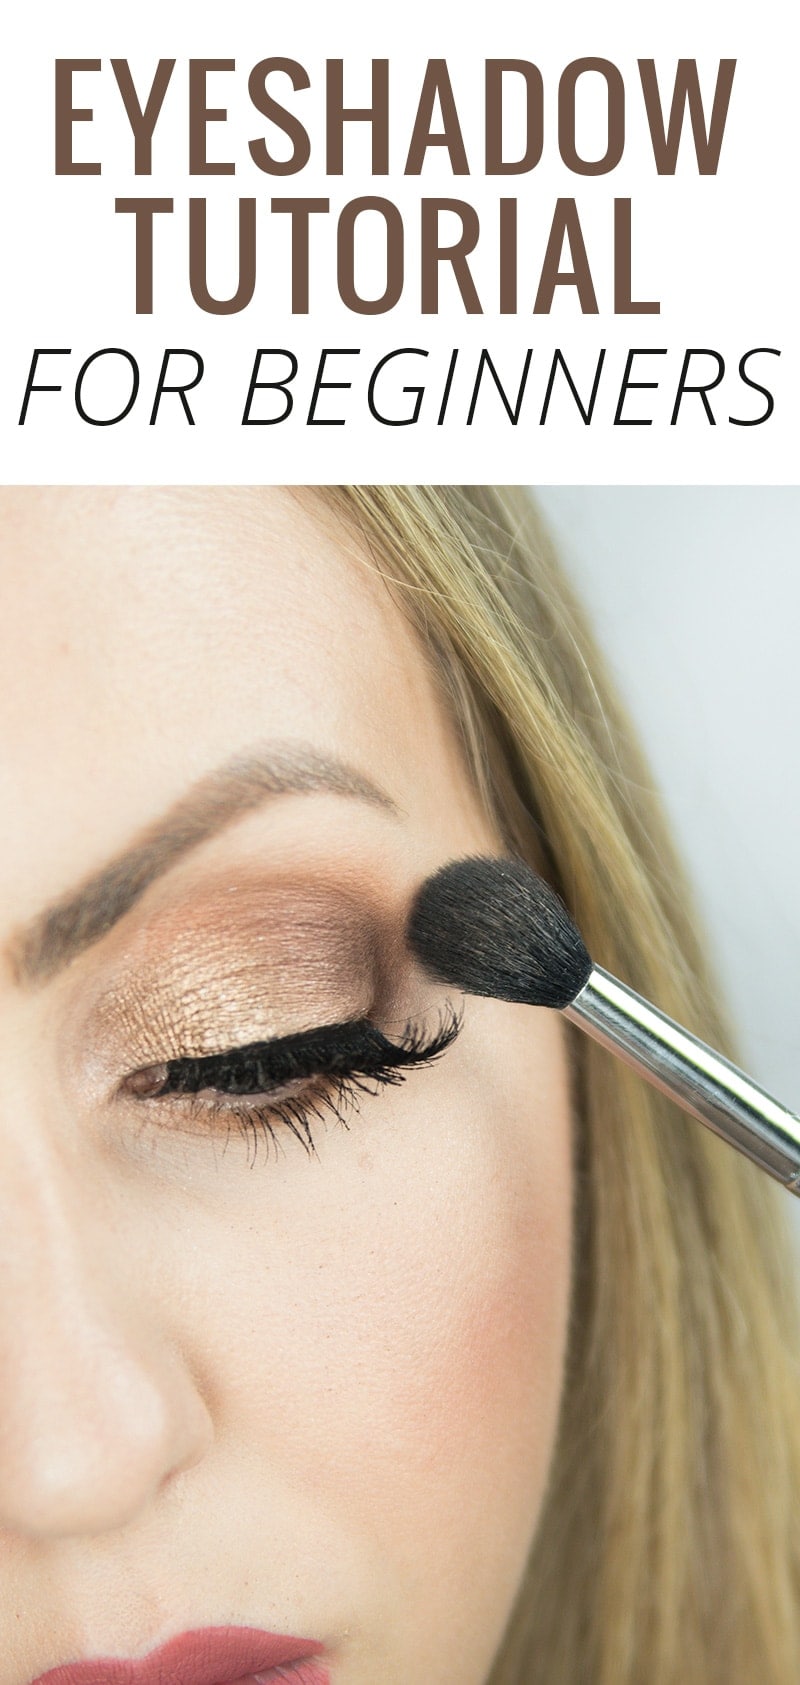
This eyeshadow tutorial is perfect for beginners. I break it down step by step for you. Anyone can have beautiful eyeshadow at home!
One of the questions I get frequently from readers and friends is how I do my eyeshadow so “perfectly and blended.” People want an eyeshadow tutorial! They want to know how I know what and where to place colors, and how to make it all look cohesive. Eyeshadow is probably my favorite part of makeup because I really do have a lot of lid space to work with. I enjoy playing up my eyes and creating a gradient look that is glam and complements my eye shape.
I put together this eyeshadow tutorial for beginners in hopes to really break it down step by step for you. In this video, I am creating a more “glam” look but I take my time to really explain everything in depth. I do a variation of this every single time I apply eyeshadow. I really hope you find this helpful and gives you the confidence to slay your eyeshadow game!
Let’s get into the eyeshadow tutorial!
Eyeshadow Tutorial for Beginners – Step by Step
Makeup Products Mentioned / Used in the Eyeshadow Tutorial:
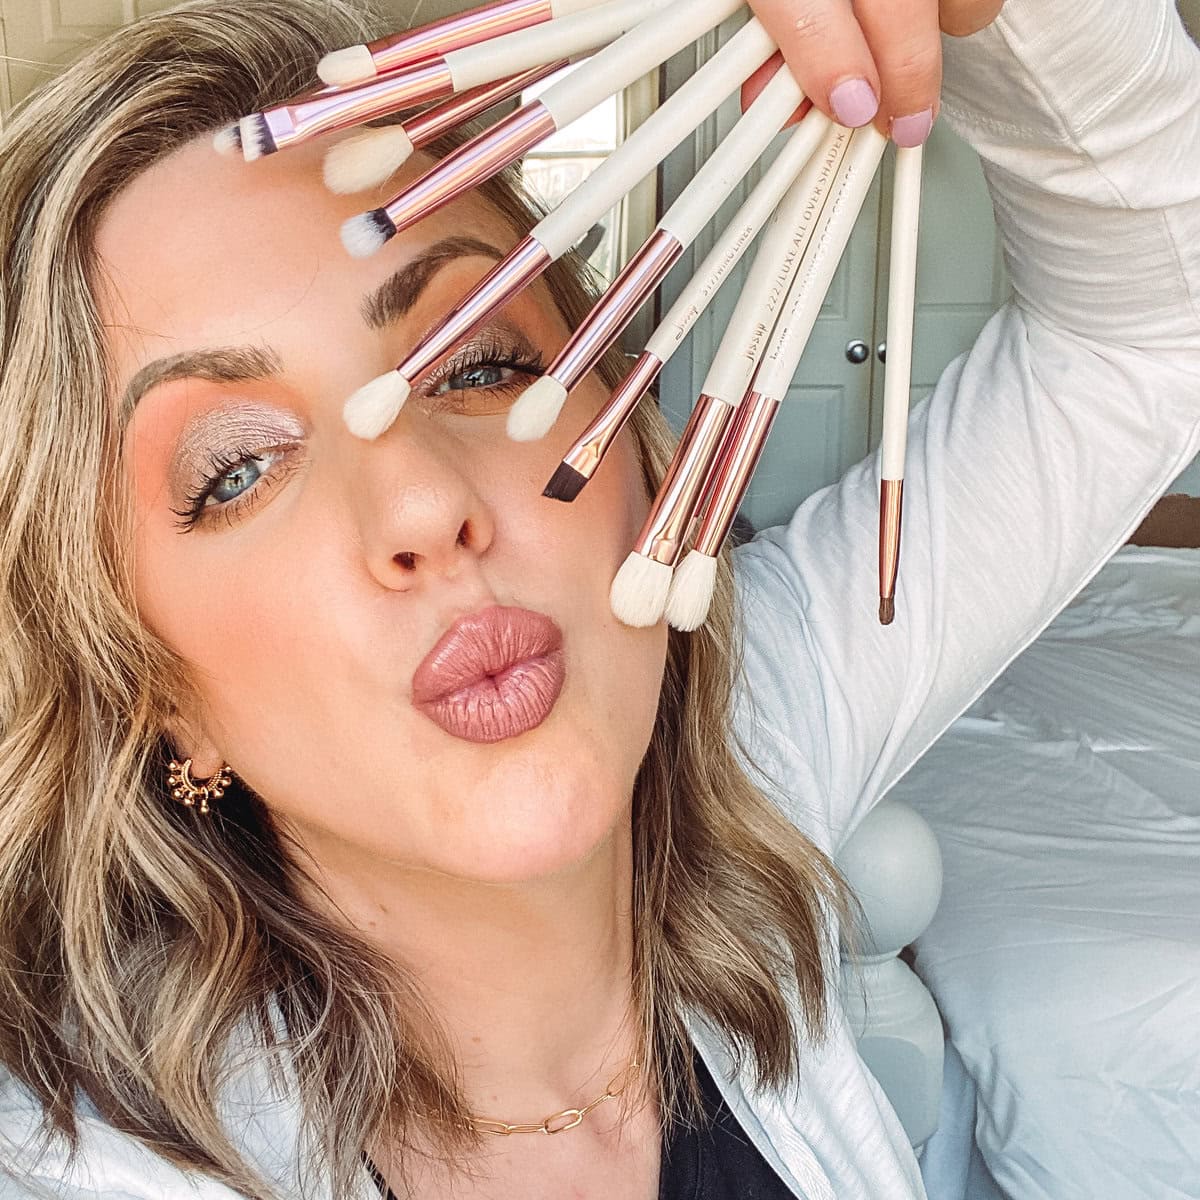
Brushes Used in the Eyeshadow Tutorial:
Tips for a Successful Eyeshadow Look:
- Know your eye shape and play it to your advantage.
- If you have hooded eyes, you always want to create a more lifted appearance by placing shadows higher. You’ll want to pretty much create a “faux crease” above your real crease.
- If you have round/protruding eyes like me, shadows placed further down on the lid and lower in the crease create a less round illusion.
- You always want to layer your eyeshadows in the crease area from lightest to darkest.
- Starting with a “transition shade” really helps your eyeshadows fade out and have a gradient effect.
- After you work on the crease area, move onto the lid. The lid is the perfect canvas for either matte, shimmer, or glitter eyeshadows.
- Using a bit of setting spray will help a metallic eyeshadow appear even more vibrant.
- Using a tiny brush to highlight the brow bone and inner corner really helps you keep it precise. I like a shimmery inner corner highlight and a softer brow bone highlight.
- Visit my Best Makeup Brushes post for brush recommendations and why/how I use them.
- If you want to learn how to put on false eyelashes, make sure to visit my How to Apply False Lashes post.
Let me know if you have any questions, as I’d love to help!
If you found this eyeshadow tutorial helpful, I’d love if you’d pin it!
For more tips, tricks, and beauty favorites, check out some of these posts:
Best Drugstore Makeup Tutorial
Ten Minute Makeup | Easy Makeup Tutorial
5 Amazing Drugstore Eyeshadow Palettes
Natural Eye Makeup Tutorial
Or browse all of my beauty blog posts HERE!




Love! Love! Love!!!!
Great make up tips as I didn’t know where to put what colours so that my eyes actually looked feminine instead of a crazy drag queen can’t wait to put ur lesson to use when I get home ,
I’m so old that I should give up the thought of eye makeup at all
BUT.. girl, you’re awesome